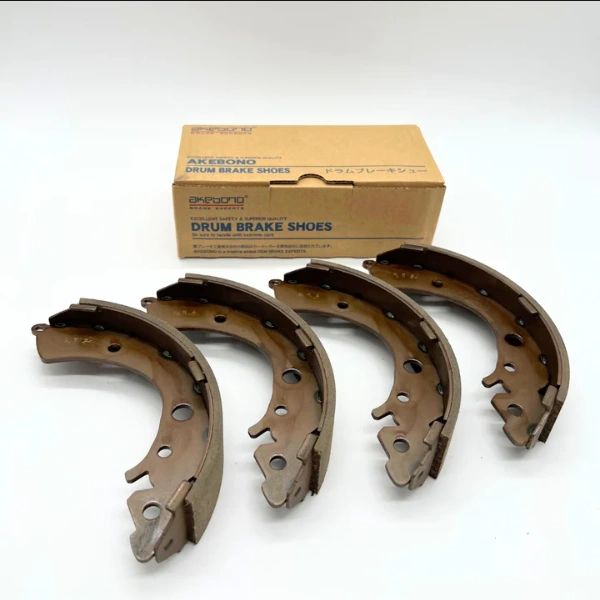
Maintaining the rear brake drum and wheel bearings of your Honda Acty is crucial for optimal performance and safety. For those keen on DIY maintenance, here's a comprehensive guide on how to tackle this task effectively, highlighting the use of Timken 6206-2RS double rubber sealed wheel bearings, ideal for both the truck and van models of the Acty.
Firstly, begin by removing the rear wheel to access the axle nut cover at the center of the brake drum. A pro tip: loosening the axle nut is more manageable with the tire on the ground, so you may want to temporarily put the wheel back on and lower the Acty. Next, remove the axle nut cotter key. For this task, arm yourself with a substantial, long breaker bar to loosen the axle nut, and remember, you'll also need a hefty torque wrench for reinstallation.
Once the rear wheel is off again, employ a puller – such as the Maddox $90 Slide Hammer & Puller Set – to detach the brake drum. This set is incredibly versatile, offering both pullers and a slide hammer to simplify the process. With the axle nut and cotter pin removed, attach the puller to the rear hub/drum. As you tighten the center shaft, it will push against the drive shaft, effortlessly pulling the hub off.
Accessing the brake shoes and wheel bearings becomes straightforward with the hub removed. Using the bearing puller claw attached to the slide hammer shaft, grip the wheel bearing and use forceful sliding motions to extract the bearing. This step might require a bit of elbow grease, but persistence pays off.
Once the old bearing is out, it's time to install the new one. We recommend the high-quality Timken 6206-2RS wheel bearings, which are pre-greased and fit both the front and rear of the Acty. Use the bearing pusher, ensuring it contacts the outer race of the bearing, to smoothly slide the new bearing into place. Remember, applying pressure on the inner race can damage the new bearing.
For those who prefer an alternative method, a two-jaw puller grabbing two lug nuts can also be employed to remove the brake drum, especially after the large axle nut has been taken off.
After reassembling, it’s crucial to torque the axle nut to the precise specification of 20kg/m or 145 lb-ft and reinstall the cotter pin. This attention to detail ensures your Acty’s wheel bearings and rear brake drum are maintained to the highest standard, enhancing both the longevity and safety of your vehicle.
In summary, maintaining your Honda Acty’s rear brake drum and wheel bearings is a task within reach for the dedicated DIY enthusiast. With the right tools and a bit of know-how, you can ensure your Acty remains in top condition, ready for any adventure or task it faces. For more insights and expert advice on maintaining your Honda Acty, stay tuned to OIWA’s comprehensive blog series.


