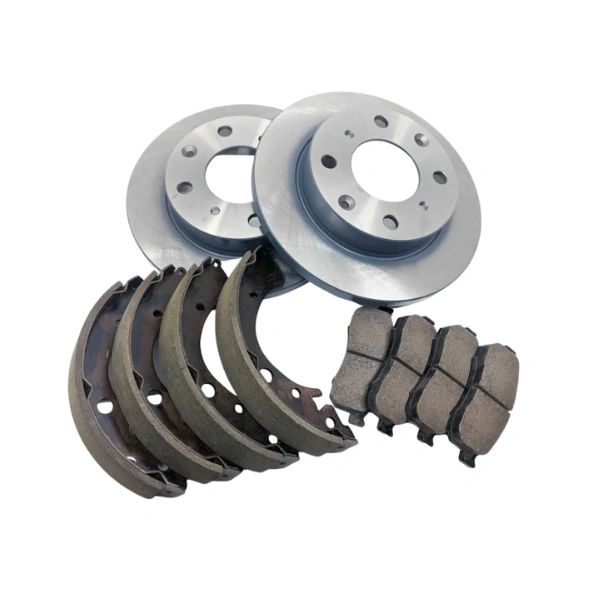
Maintaining the brake system in your Honda Acty kei truck is crucial for ensuring your vehicle's safety and performance. Front brake calipers and disks are among the components that may require attention during the vehicle's lifespan.
When it's time to replace the front brake pads, start by locating the 12mm caliper release bolt, which, once removed, allows the caliper to swing upward. This action will enable you to slide out the old pads easily.
Before you can fit the new, thicker brake pads, it's necessary to retract the brake piston. This can be done using a C-clamp or a specialized brake piston compressor tool, which will create enough space for the caliper to fit over the new pads. It's important to note that pushing back the brake piston may cause the brake fluid reservoir to overfill.
To prevent any overflow, it's wise to check and potentially remove some brake fluid from the reservoir after compressing each piston, especially after completing the first one.
If you're also looking to remove the brake disk, the process involves detaching the caliper and its bracket by unscrewing the two hefty 17mm bolts that secure the bracket to the knuckle.
The brake disk itself is fastened with two Phillips head screws, which can be swiftly removed with an impact driver. Due to the screws' soft metal composition, if they prove stubborn, drilling them out is a viable option to free the disk. Sometimes, a gentle tap with a rubber mallet may be necessary to loosen and remove the disks.
At OIWA, we're dedicated to empowering Honda Acty owners with the knowledge to perform routine maintenance safely and effectively. By following this guide, you can ensure your Acty's brakes are in top condition, keeping you and your cargo secure on every journey.


